Satisfaction Guaranteed
 99.6% On-Time Delivery
 Open Trade Account
Anthracite Black Porcelain
AS LOW AS £23.00£27.60 Ex. VATInc. VAT PER m2








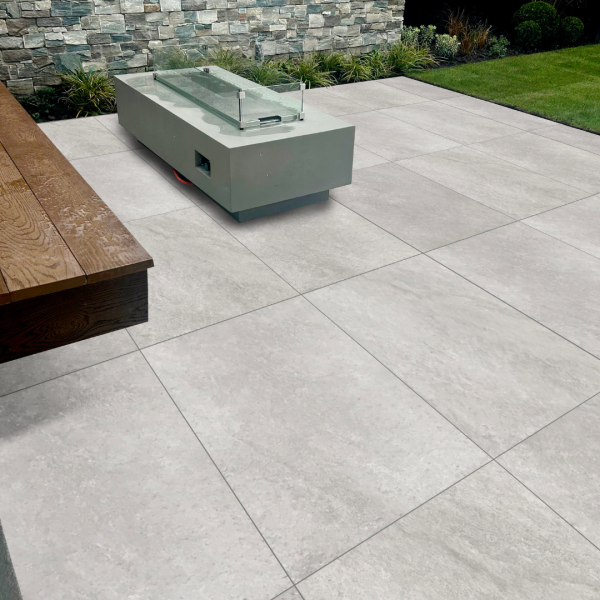
Anthracite Black Porcelain from George Davies Turf & Stone is a large-format porcelain paving slab in a deep, near-black charcoal tone. At 900x600x20mm, each slab covers 0.54 m² and delivers a sharp, contemporary finish for patios, terraces, pool surrounds, and commercial outdoor areas. The riven texture gives the surface grip and visual interest without compromising the clean, modern aesthetic that dark-toned porcelain is known for.
Porcelain is one of the most practical paving materials available. It is non-porous, so it does not absorb water, oils, or organic matter. That means no sealing, no annual treatment, and no staining from leaves or standing water. Paired with an R11 slip rating and full frost resistance, this slab is a straightforward choice for anyone who wants a high-impact finish without the ongoing maintenance of natural stone.
Anthracite and near-black paving has become one of the most requested finishes in UK landscaping. The colour works because of contrast: dark paving against pale render, natural timber, or lush green planting creates a defined, architectural look that is hard to achieve with lighter materials. Used on a full patio, as a border or step detail, or as a contrast band within a larger scheme, the anthracite tone makes an immediate visual impact.
Porcelain holds this colour reliably. Unlike some natural stones that fade or shift in tone as they weather, porcelain maintains a consistent depth of colour year after year. What you see when you order is what the surface looks like 10 years from now.
The 900x600mm format is a proven size for residential patios and commercial outdoor areas. The large slab means fewer joints and faster laying for a landscaper working to a tight programme. For a homeowner, it means a cleaner, more uninterrupted surface. The 20mm thickness is standard for full mortar bed installation on a properly prepared sub-base and is compatible with most porcelain paving adhesives.
This product is priced per m² and sold per individual slab. Each slab covers 0.54 m². Order the exact quantity you need, rounding up to account for cutting and wastage.
Use the table below to estimate your order quantity:
| Size | Coverage per slab | Slabs per m² |
|---|---|---|
| 900x600x20mm | 0.54 m² | approx. 1.85 |
To calculate how many slabs you need, divide your total area in m² by 0.54, then add at least 10% for cutting and wastage. If you are working around obstacles or laying a pattern with angled cuts, add 15%. Get in touch and our team will help you work out the right quantity. You will also need a suitable bed adhesive rated for porcelain and MOT Type 1 for your sub-base.
High-quality products are only half the story at George Davies; expert delivery and after-care are just as important. From your very first enquiry to the moment your Cloud White Porcelain arrives, every single customer is looked after by our friendly team.
We proudly service Olney, Bedford, St. Albans and the surrounding areas. Operating from our depots in Olney and St. Albans, we can offer a prompt and efficient delivery service for homeowners and professional landscapers alike.
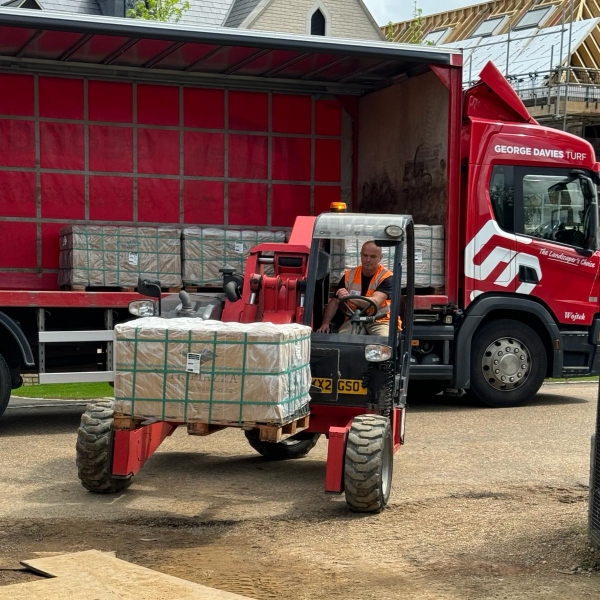
Each delivery of our Cloud White Porcelain is safely stacked onto rigid trucks equipped with forklifts. With the use of What3Words, we can place your porcelain slabs exactly where you need them (within reason).
Long, narrow tracks and gravel driveways are not a problem! Where possible, we can place stone products, turf pallets, and product bulk bags around the back of your property. All we ask is for 9 ft x 9 ft clear access so the forklifts can get through safely.
Our skilled drivers are highly trained, calm under pressure, and expert problem-solvers when it comes to difficult deliveries. If you have restricted areas, tight entrances, or specific requirements, please tell us when ordering and add notes to your online order.
Trust us when we say: our drivers truly make difficult deliveries easy!
Each slab is 900x600mm and covers 0.54 m² (excluding joint spacing). To calculate your order, divide your total patio area in m² by 0.54 to get the number of slabs, then add at least 10% for cutting and wastage. For complex layouts or areas with angled cuts, add 15%. If you want a hand with the calculation, get in touch and our team will work it out for you.
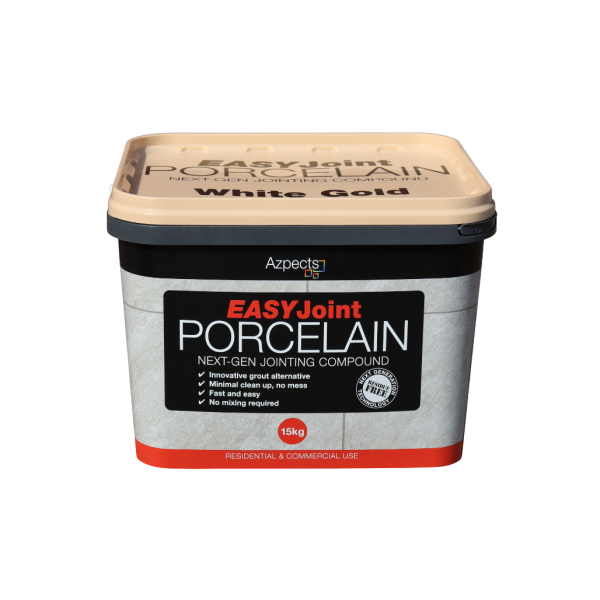
Use a flexible, weatherproof grout or specialist porcelain jointing compound. Do not use standard sand and cement pointing, as it can crack and allow water ingress at the joint. A charcoal or dark grey compound suits this slab particularly well and keeps the joint tight visually. Pack the compound firmly into the joint and finish flush with the slab surface. Always allow the adhesive bed to fully cure before pointing.
R11 is a slip resistance classification based on the DIN 51130 ramp test. It indicates the slab is suitable for areas that are regularly wet or prone to slippery conditions. R11 is one of the higher ratings for outdoor paving, making this slab a practical choice for pool surrounds, shaded north-facing patios, and sloped areas that drain slowly. R9 is standard for dry indoor floors; R10 suits general outdoor use; R11 adds an extra level of grip for more demanding conditions.
No. Porcelain is non-porous by nature, meaning water, oils, and organic matter cannot penetrate the surface. There is no need to seal porcelain at installation or at any point in the future. This is one of the key practical advantages over natural stone, which requires sealing to protect against staining and weathering. Keep the surface clean with a brush and occasional wash down with a mild detergent, and it will look the same in 10 years as it does on day one.
Anthracite Black Porcelain can be suitable for light domestic vehicle use when installed correctly on a fully compacted sub-base with a full adhesive bed and no voids beneath the slabs. The 20mm thickness is adequate for light loads, but correct installation is critical. Voids beneath porcelain slabs can cause cracking under vehicle weight. If you are planning a driveway, speak to our team first to confirm your sub-base specification is right for the application.
Porcelain paving must be laid on a full mortar or adhesive bed. Do not use a semi-dry or spot-bedding method. Porcelain is non-porous, so any moisture trapped beneath the slab cannot escape, which causes adhesion failure and lifting over time.
Tools required:
Step 1: Plan and mark out
Set out the area with string lines and establish your finished level and drainage fall. Porcelain requires a minimum fall of 1:80 away from buildings. Mark out from a fixed starting point, ideally a straight edge such as a wall or existing structure, to keep courses aligned from the outset.
Step 2: Excavate and prepare the sub-base
Excavate to a total depth of approximately 200mm: 150mm for the sub-base, 40-50mm for the adhesive bed, and 20mm for the slab. Remove all topsoil and organic material. Fill with MOT Type 1 to a compacted depth of 150mm, working in 75mm layers. The sub-base must be solid and stable before you proceed.
Step 3: Apply the adhesive bed
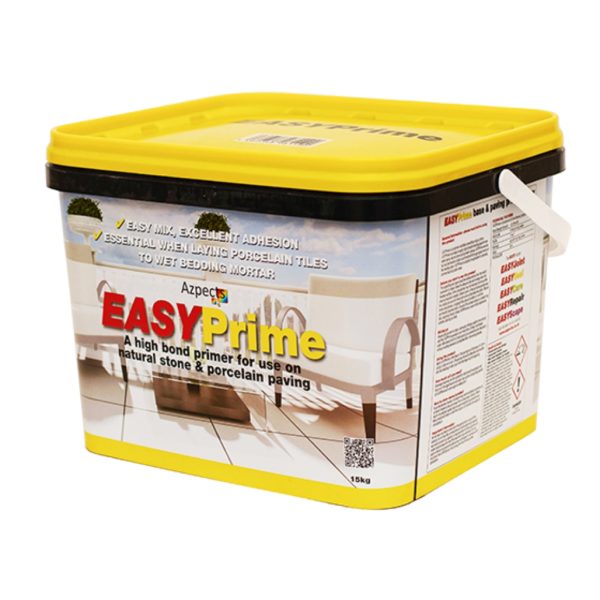
Use a flexible, rapid-setting porcelain tile adhesive throughout. Porcelain requires a full coverage bed with no voids beneath the slab. Apply the adhesive with a notched trowel to both the sub-base and the back of each slab (the double-buttering method). This is particularly important in UK conditions as any voids can fill with water that expands when frozen.
Step 4: Lay the slabs
Set each slab firmly into the adhesive bed and tap level with a rubber mallet. Check levels constantly with a spirit level, working across courses and diagonally. Use plastic tile spacers to maintain consistent joint widths of 10-20mm. Keep joints even throughout to achieve a clean, professional finish. Do not walk on freshly laid slabs for at least 24 hours.
Step 5: Cut to fit
Use an angle grinder or slab saw fitted with a diamond blade rated for porcelain. Always cut from the face side down, and use clean water to cool the blade throughout the cut. Measure twice before cutting. Porcelain has no margin for error on a cut edge.
Step 6: Point the joints
Allow the adhesive bed to fully cure (check the adhesive manufacturer’s guidance, typically 24-48 hours) before pointing. Use a flexible, weatherproof grout or specialist porcelain jointing compound. A charcoal or dark grey jointing compound complements the anthracite colour particularly well and reduces the visual impact of the joint. Pack the compound firmly into each joint and finish flush with the surface. Brush clean before fully set.
Step 7: Clean and cure
Remove any grout residue from the slab surface while still workable. Porcelain cleans easily but grout that has hardened on the surface will require a specialist cleaner. Allow the joints to fully cure before foot traffic and at least seven days before any vehicle use.
Helpful Guides: