Rippon Buff Paving Slabs
AS LOW AS £13.50
PER m2
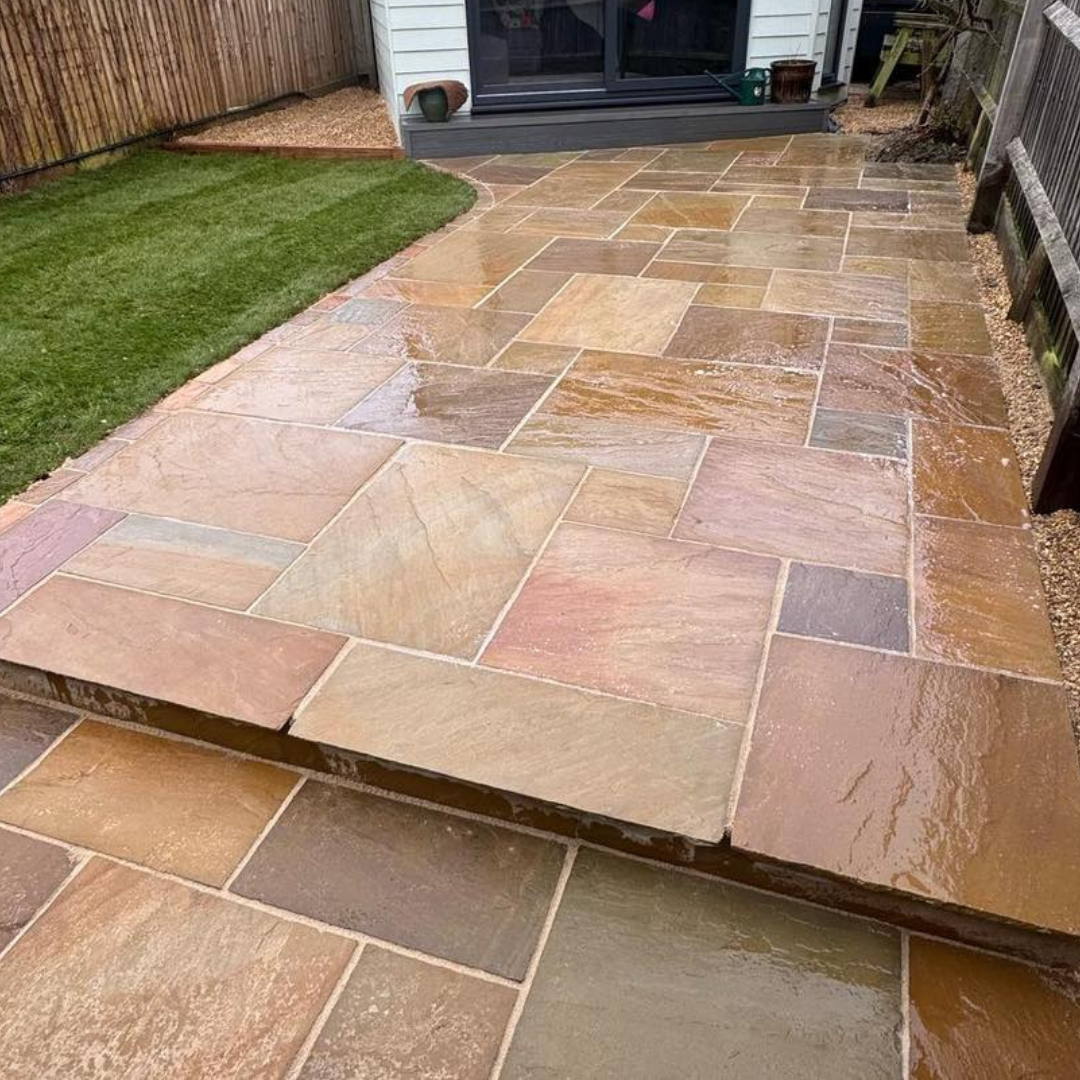

Rippon Buff installed by Easy Lay Landscaping LTD
Rippon Buff is a warm, golden-toned Indian sandstone with a naturally riven surface — perfect for creating an inviting, timeless patio. Available in two options:
| Pack Name | Slab Sizes | Area Covered |
|---|---|---|
| Patio Pack | 900x600mm, 600x600mm, 600x300mm, 300x300mm | 15.25m² |
| Single Slab | 900x600mm | 0.562m² per slab |
Each slab is 22mm thick, providing a solid and durable surface for a range of outdoor applications. As a natural product, colour and texture will vary slightly between slabs, giving your patio its own unique character.
Rippon Buff suits both traditional and contemporary garden designs. Its warm golden tones work beautifully alongside natural timber, gravel, planting borders, and sleepers — ideal for homeowners and landscapers looking to create a classic outdoor finish.
For the best results, we recommend using Azpects Easy Joint or Easy Joint Select to fill the joints between slabs. Both offer excellent durability, easy application, and a clean, professional finish that complements the natural look of the stone.
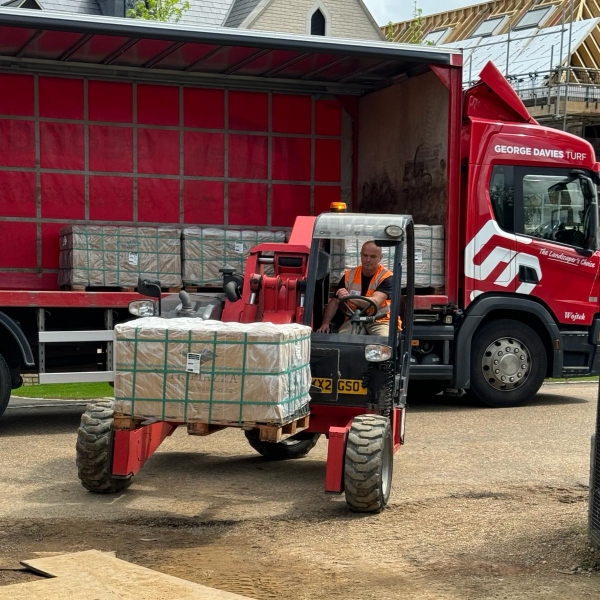
Each delivery is made on rigid trucks mounted with forklifts, allowing us to place your products exactly (within reason) where they suit you. Long, narrow tracks and placing bags around the back of your home along with gravel driveways are not a problem. We just ask for a 9ft-by-9ft access to enable the forklifts to get through with ease.
Here at George Davies Turf, we want to make life as easy as we can for you; our website boasts a three-day lead time; however, if you need it sooner, please give us a call, as we normally work on a two-day turnaround.
Our skilled drivers are highly trained and cool under pressure. If you have any limitations at all, please tell us ahead of time at the point of order or add notes to your online order. Trust us when we say our drivers truly make difficult deliveries easy.
For a full patio, measure the length and width of your area in metres and multiply them together to get your m² figure. The patio pack covers 15.25m², so divide your total area by 15.25 to work out how many packs you need. We’d always recommend ordering around 10% extra to account for cuts and wastage. For smaller areas or top-ups, individual 900x600mm slabs are also available (0.562m² each).
Yes. For any permanent installation, a compacted sub-base is essential. A 100mm layer of MOT Type 1 hardcore, topped with a sharp sand or dry mortar bedding layer, will give your slabs a stable, long-lasting foundation. Skipping the sub-base is the most common cause of sunken or uneven paving over time.
Rippon Buff can be used for light driveway applications, but we’d recommend porcelain for anything subject to heavy vehicle traffic. The 22mm thickness is well suited to patios, paths, and garden entertaining areas. If you’re considering a driveway, get in touch and we can advise on the best option for your project.
Sealing isn’t essential, but it’s a good idea. A quality natural stone sealer will help protect Rippon Buff from staining, moss growth, and weathering — particularly in areas that get a lot of shade or rainfall. Apply sealer after installation once the jointing compound has fully cured. Reseal every two to three years to keep it looking its best.
For routine cleaning, a stiff brush and warm soapy water will handle most dirt and debris. For tougher staining, a specialist natural stone cleaner is recommended. Avoid high-pressure jet washing at close range on unsealed sandstone, as it can damage the surface over time. If moss or algae builds up, a diluted patio cleaner applied and left to work before brushing off will do the job.
The patio pack contains a mix of four slab sizes (900×600, 600×600, 600×300, and 300x300mm) and covers 15.25m² — ideal for laying a traditional pattern across a full patio area. The 9×6 single slab is just the 900x600mm size, sold individually, and is great for topping up an existing patio, matching an extension, or creating feature sections in a larger project.
Tools required:
Follow these five steps to ensure a professional installation of your Rippon Buff Paving Slabs:
Step 1: Prepare the sub-base
Excavate to a depth of at least 150mm (deeper for driveways or areas with heavy use). Lay a compacted MOT Type 1 sub-base to 100mm depth. Make sure drainage is adequate and build in a slight fall away from the house or any structures.
Step 2: Lay the bedding layer
Apply a 30–40mm layer of sharp sand or a dry mortar mix (6 parts sharp sand to 1 part cement). Screed to a consistent, even level using a straight edge before you start laying slabs.
Step 3: Lay the slabs
Position each slab carefully, using spacers to maintain consistent joint widths. Tap gently into place with a rubber mallet, checking levels regularly with a spirit level. Work from a corner outwards to keep your pattern consistent and minimise awkward cuts at the edges.
Step 4: Cut and fit
Use a diamond blade wet saw or angle grinder with a diamond disc to cut slabs to size around edges, borders, or features. Always wear protective eyewear and gloves when cutting natural stone.
Step 5: Joint and finish
Allow the mortar bed to set for at least 24 hours before jointing. Apply patio grout to all joints and brush away any excess before it dries. Leave to cure fully before the patio is put into use.
Helpful Guides: