Satisfaction Guaranteed
 99.6% On-Time Delivery
 Open Trade Account
Fossil Mint Sandstone Cobbles
AS LOW AS £0.65£0.78 Ex. VATInc. VAT PER BLOCK


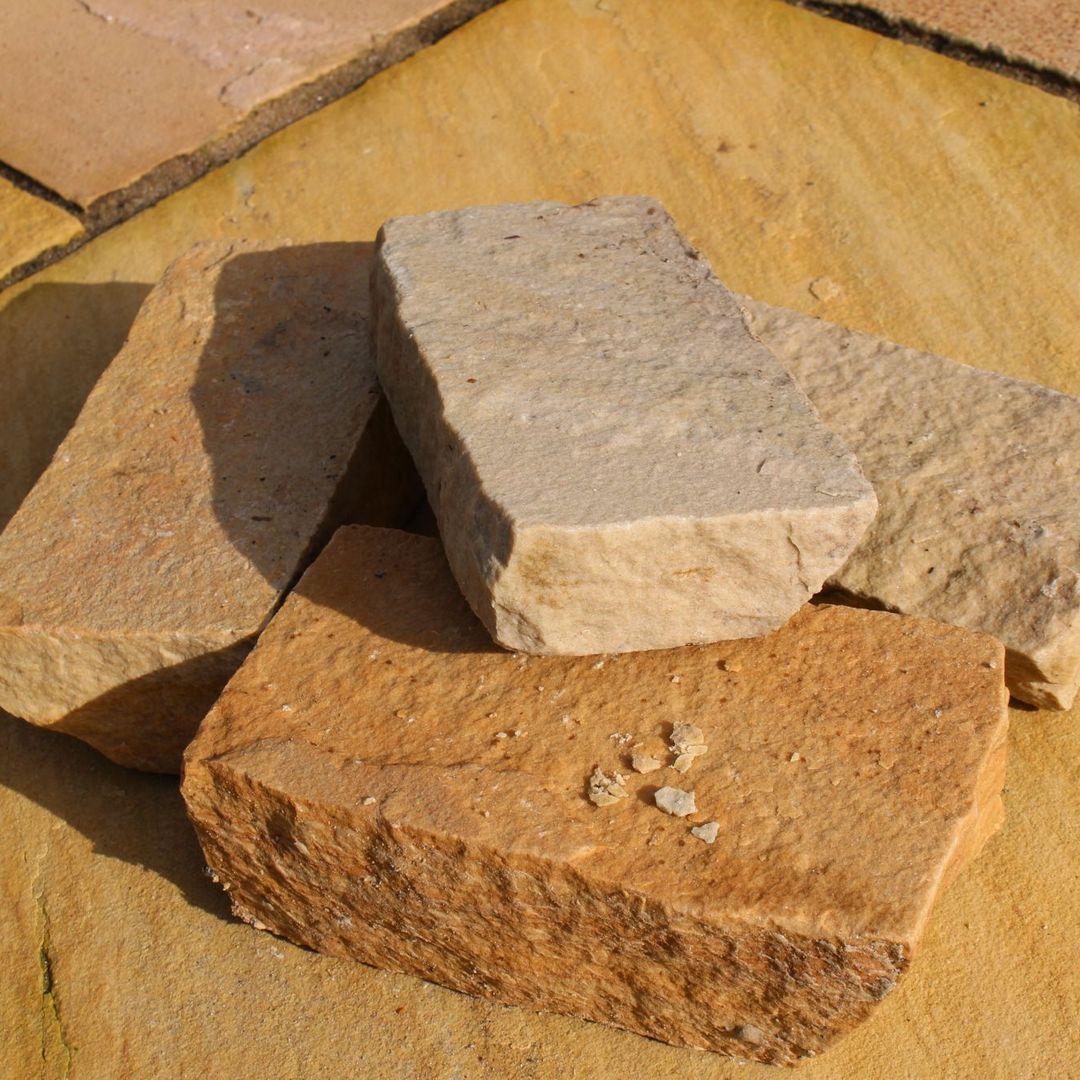
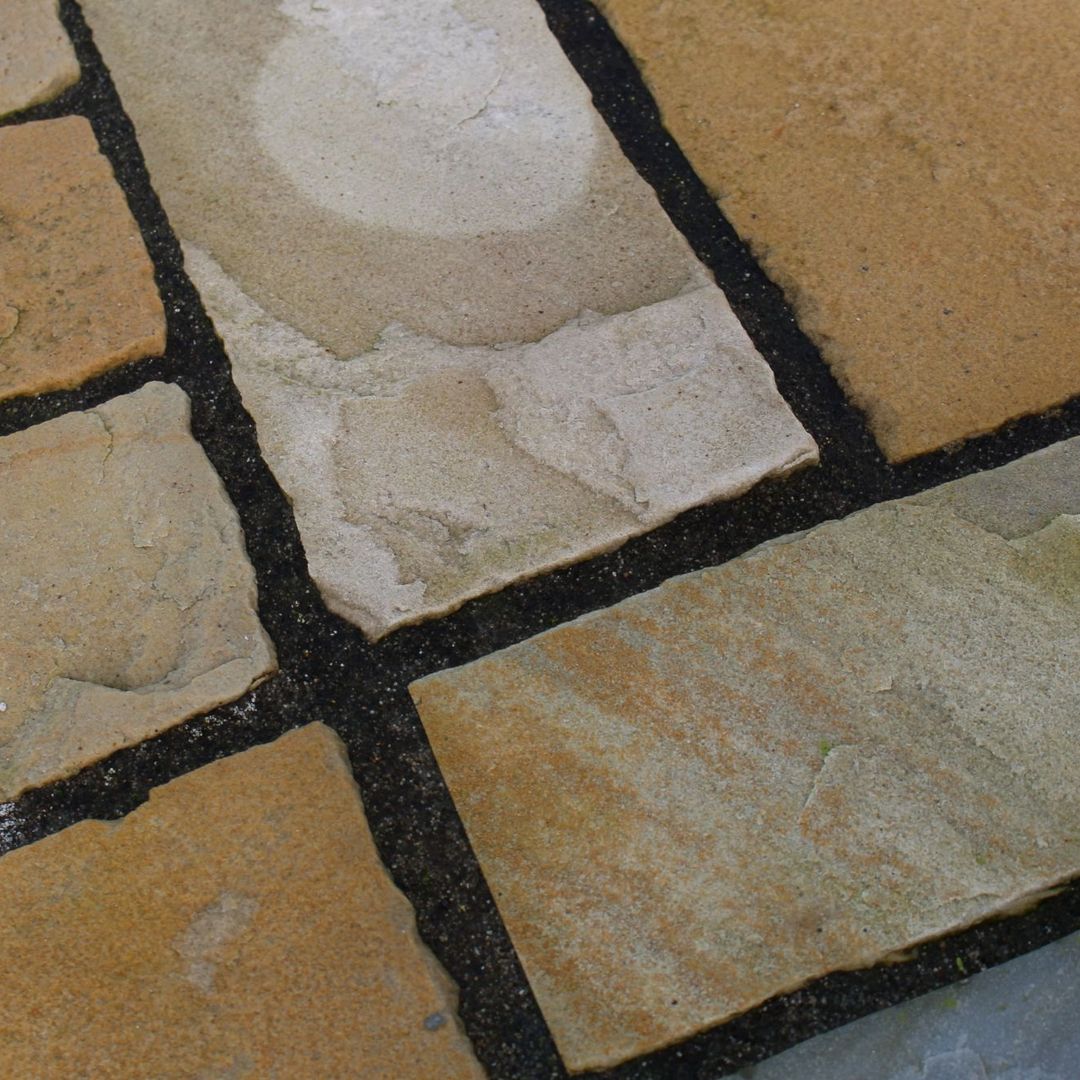

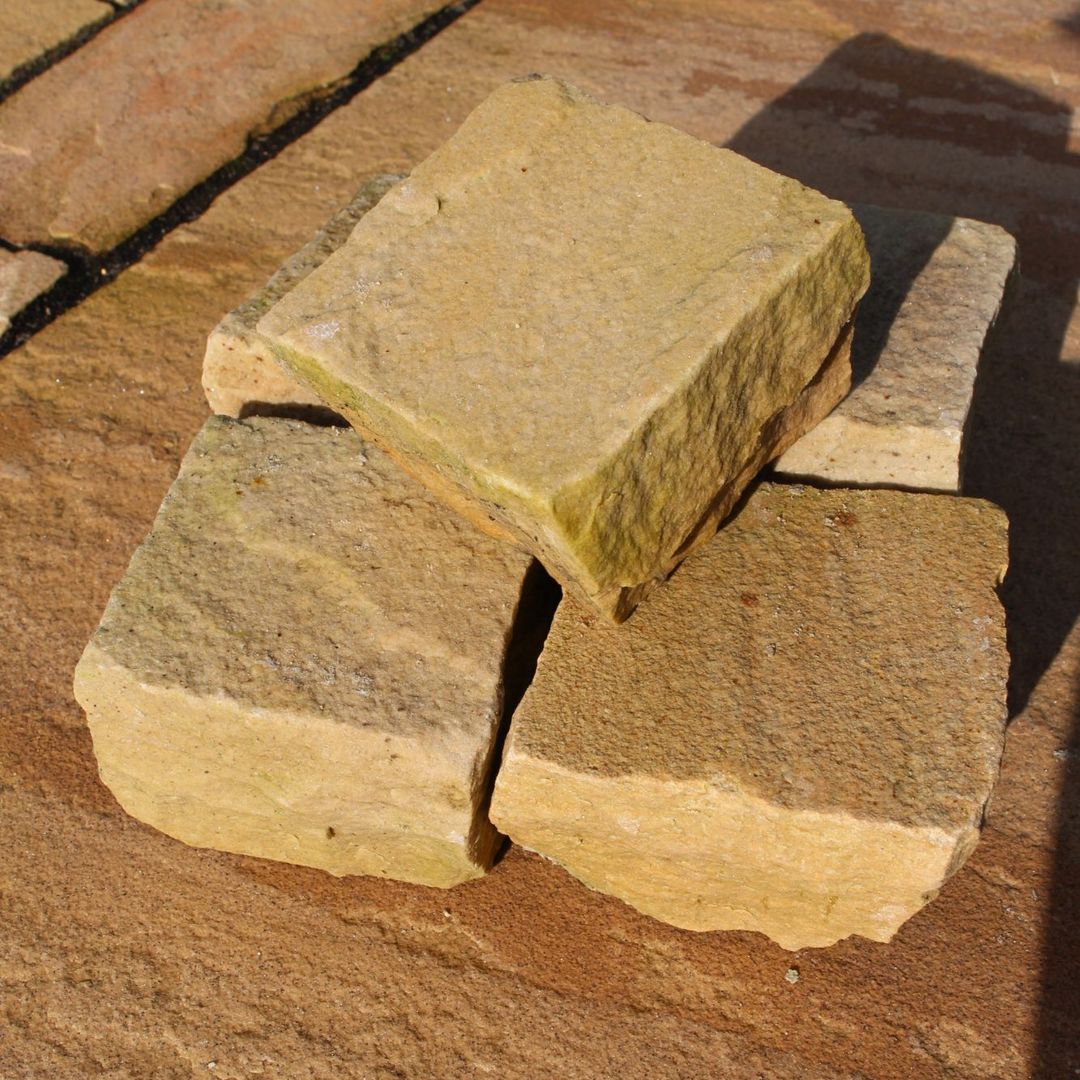

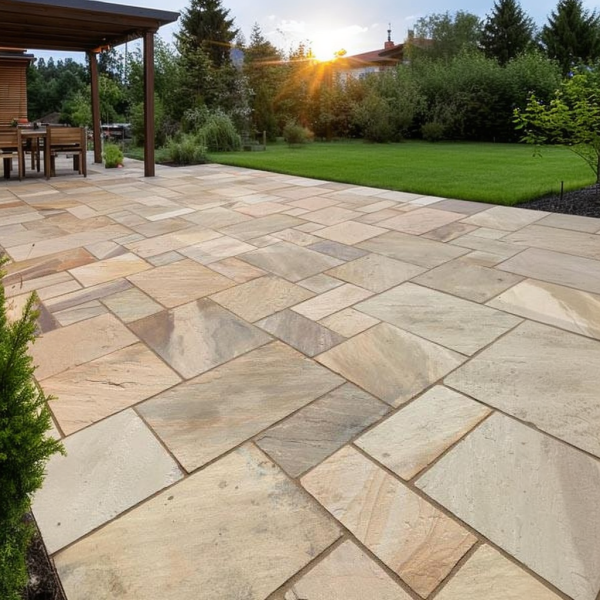
Fossil Mint Sandstone Cobbles are natural Indian sandstone cobbles in the distinctive Fossil Mint colourway, a pale mint green shot through with grey and cream tones. Available in two sizes, 100x100mm and 200x100mm, they give you the flexibility to choose the format that best suits your project, whether that's a tightly-laid courtyard surface, a herringbone driveway, or a decorative edging course around a larger paved area. Sold per individual cobble, you order exactly what you need.
Because these are natural sandstone, every cobble is unique. The variation in tone and texture is part of what makes them look right in a garden setting, something you simply don't get with manufactured products. If you're already using Fossil Mint paving slabs elsewhere on the project, these cobbles are from the same stone family and will tie everything together naturally.
The 100x100mm cobble gives a tighter, more intricate finish, popular for courtyards, feature panels, and areas where you want the texture of the stone to really stand out. The 200x100mm cobble has a classic two-to-one ratio that works particularly well in herringbone and stretcher bond patterns on paths and driveways. Both sizes can also be mixed together in a random pattern for a more informal, natural feel. Our team can advise on which size works best for your specific project, get in touch if you need guidance.
Cobbles work equally well as a primary surface and as a design detail. Use them to edge a larger paved area, create a contrasting border strip, or lay a decorative inset panel within a more formal layout. The Fossil Mint colourway suits cottage gardens, rural settings, and any project where you want a natural stone finish without a formal look. Browse the full paving range to find complementary products for your project.
Coverage varies by size. At 100x100mm you'll need approximately 100 cobbles per m². At 200x100mm you'll need approximately 50 cobbles per m². Always add at least 10% to your order for wastage and cutting, particularly if laying in herringbone or working around curves and edges. Our team can help you calculate exact requirements before you order. Get in touch if you need a hand with the numbers. You'll also want MOT Type 1 for the sub-base and a suitable mortar for bedding.
High-quality products are only half the story at George Davies; expert delivery and after-care are just as important. From your very first enquiry to the moment your Cloud White Porcelain arrives, every single customer is looked after by our friendly team.
We proudly service Olney, Bedford, St. Albans and the surrounding areas. Operating from our depots in Olney and St. Albans, we can offer a prompt and efficient delivery service for homeowners and professional landscapers alike.
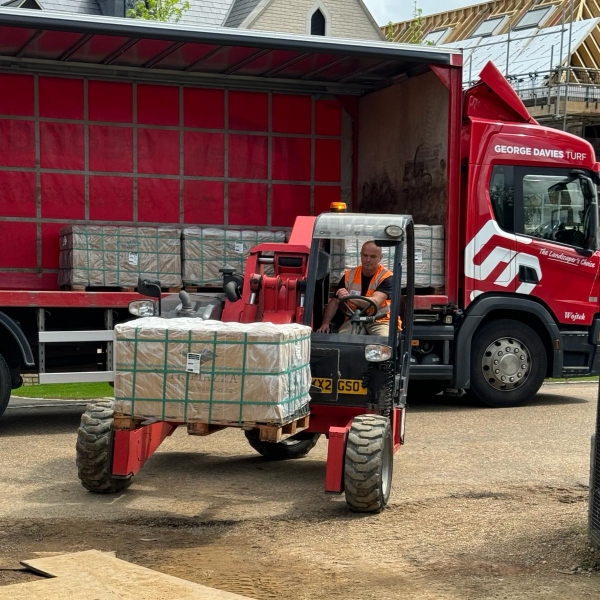
Each delivery of our Cloud White Porcelain is safely stacked onto rigid trucks equipped with forklifts. With the use of What3Words, we can place your porcelain slabs exactly where you need them (within reason).
Long, narrow tracks and gravel driveways are not a problem! Where possible, we can place stone products, turf pallets, and product bulk bags around the back of your property. All we ask is for 9 ft x 9 ft clear access so the forklifts can get through safely.
Our skilled drivers are highly trained, calm under pressure, and expert problem-solvers when it comes to difficult deliveries. If you have restricted areas, tight entrances, or specific requirements, please tell us when ordering and add notes to your online order.
Trust us when we say: our drivers truly make difficult deliveries easy!
Coverage depends on which size you choose. At 100x100mm you’ll need approximately 100 cobbles per m². At 200x100mm you’ll need approximately 50 cobbles per m². Always add at least 10% for wastage and cuts, more if laying in herringbone or working around curved edges. If you’re unsure, get in touch and our team will help you calculate the right quantity.
The 100x100mm cobble gives a tighter, more intricate surface finish, well suited to courtyards, feature areas, and projects where the texture of the stone is a key part of the design. The 200x100mm cobble has a classic two-to-one ratio that works particularly well in herringbone and stretcher bond patterns on paths and driveways. Both sizes can also be mixed together in an informal random pattern for a more natural look.
Yes, and it’s one of the most popular ways to use them. Fossil Mint cobbles and Fossil Mint paving slabs come from the same stone family, so the tones, textures, and natural variation are consistent across both products. They work particularly well when cobbles are used as a contrasting border or edging detail alongside a larger paved area in the same material.
Yes, when installed correctly. Laid on a full mortar bed with properly haunched edges and a compacted sub-base of at least 100-150mm MOT Type 1, Fossil Mint cobbles can take light vehicle traffic. For anything beyond light vehicle use, speak to our team to confirm suitability.
Sealing is not strictly required, but a good quality sandstone sealer can protect the surface against staining, enhance the natural colour of the stone, and make it easier to keep clean. Apply sealer to clean, dry stone after installation and allow it to cure fully before use.
Tools required:
Follow these steps for a solid, well-finished cobble installation:
Step 1: Mark out and excavate
Mark out your area with string lines. Excavate to a total depth of 175-200mm to accommodate the sub-base, mortar bed, and cobble thickness. Remove all topsoil and organic material. Ensure a slight fall (1:80) away from buildings and structures for surface water drainage.
Step 2: Lay the sub-base
Fill the excavated area with 100-150mm of compacted MOT Type 1. Spread evenly and compact thoroughly with a plate compactor, working in layers of no more than 100mm. The sub-base must be firm and stable with no movement underfoot before you proceed.
Step 3: Prepare the mortar bed
Apply a full mortar bed at approximately 50mm depth over the compacted sub-base. Use a mix of sharp sand and cement at a 5:1 or 6:1 ratio. Screed to a consistent level with the appropriate drainage fall. For pathway edging or haunching at the borders, mortar haunching can be used to support the outer courses and keep the pattern tight.
Step 4: Lay the cobbles
Set out your chosen pattern with string lines to keep courses straight. Whether you are laying 100x100mm or 200x100mm cobbles, press each one firmly into the mortar bed and tap down with a rubber mallet to bed it evenly. Check level regularly with a spirit level, both within individual cobbles and across the run. Maintain consistent joint widths of 10-15mm. If mixing both sizes in a random pattern, vary the arrangement as you go for a natural finish.
Step 5: Point the joints
Once the mortar bed has set (typically 24 hours), fill the joints with a suitable mortar pointing mix or compatible jointing compound. Work it firmly into the joints and brush clean before it sets. For natural sandstone, a buff or silver grey mortar colour tends to work well with the Fossil Mint colourway.
Step 6: Clean and finish
Brush any excess mortar from the surface before it fully sets. Allow the pointing to cure fully before subjecting the surface to foot traffic or vehicle use. A sandstone sealer can be applied after installation to protect the stone and enhance its natural colour, though this is optional.
Helpful Guides:
The brightness and elegance of our Fossil Mint Sandstone Cobbles make them highly versatile for a range of domestic and commercial installations. Some of the most popular places our customers use these gorgeous cobbles include:
View our Case Studies to see how our landscaping materials are transforming outdoor spaces.