Satisfaction Guaranteed
 99.6% On-Time Delivery
 Open Trade Account
Hammerstone Beige Porcelain Slabs
AS LOW AS £27.25£32.70 Ex. VATInc. VAT PER m2


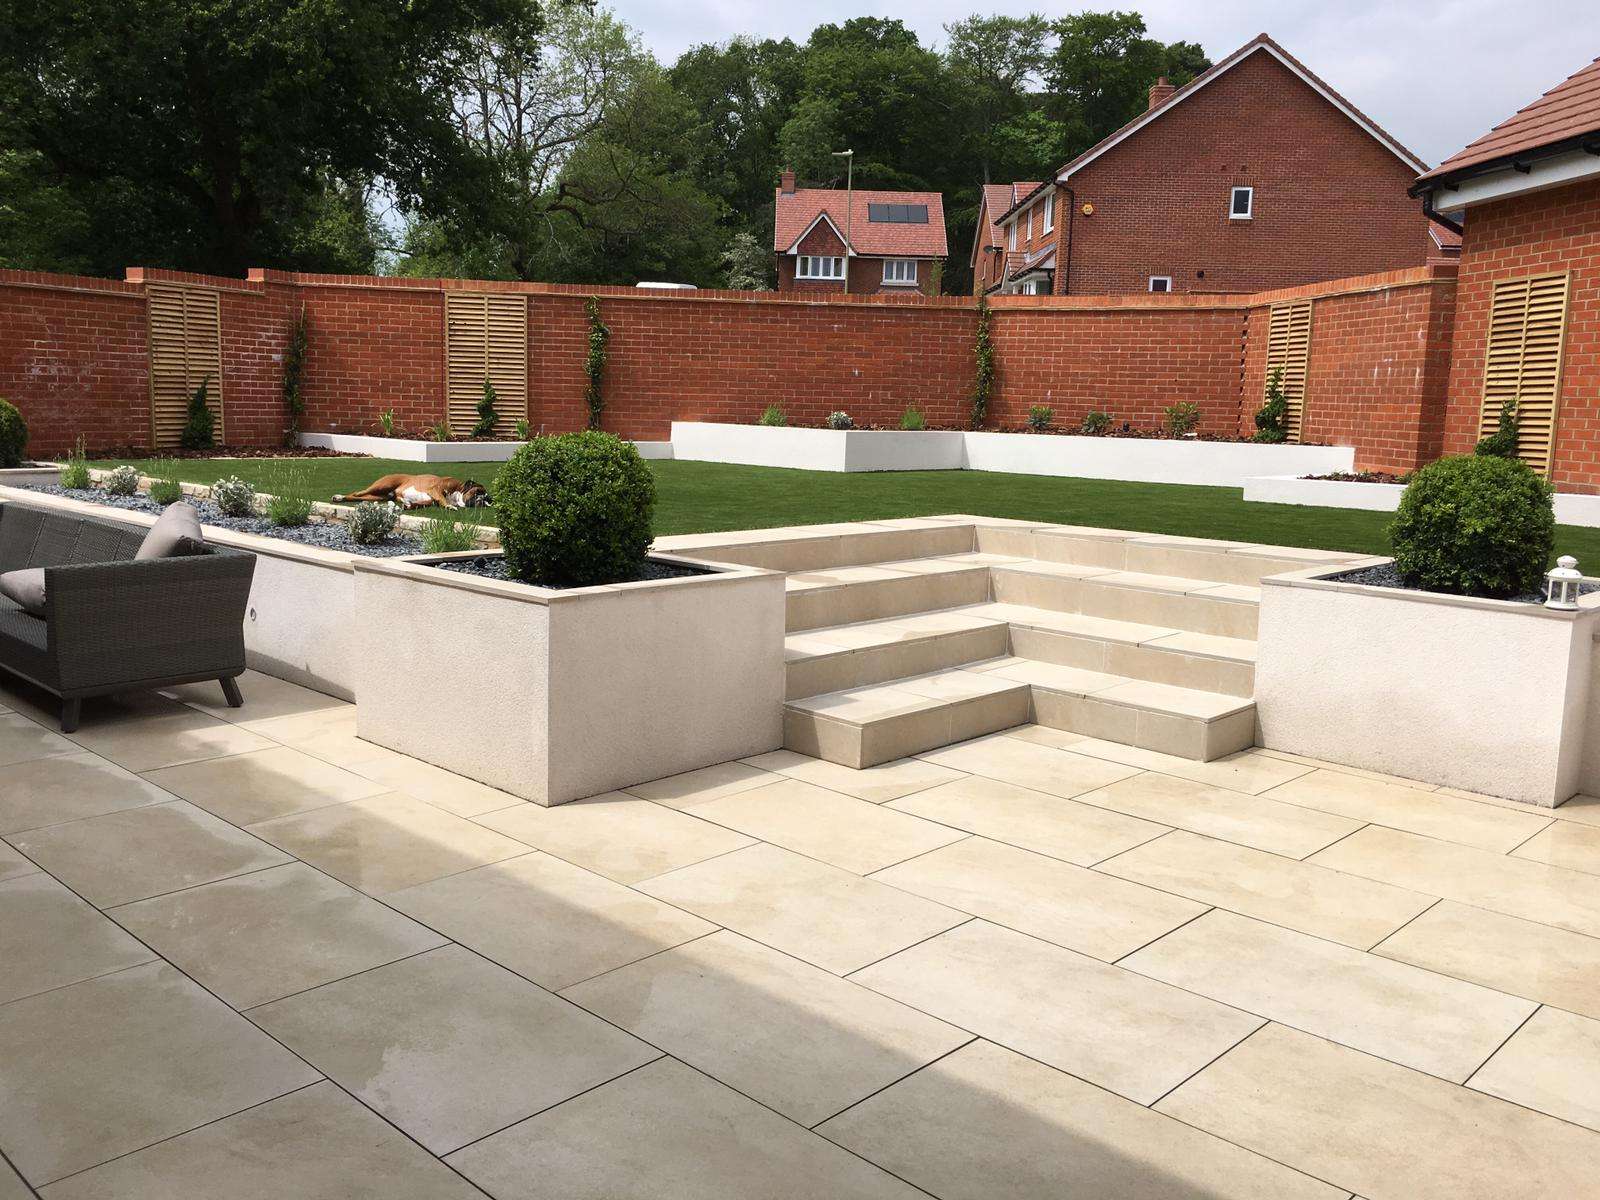
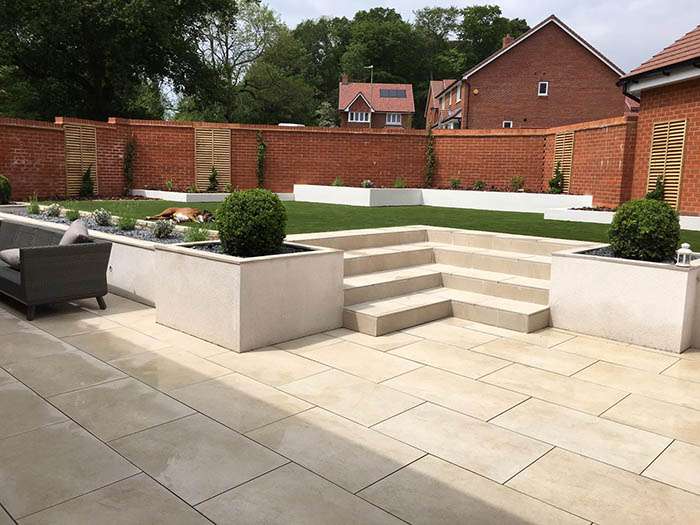
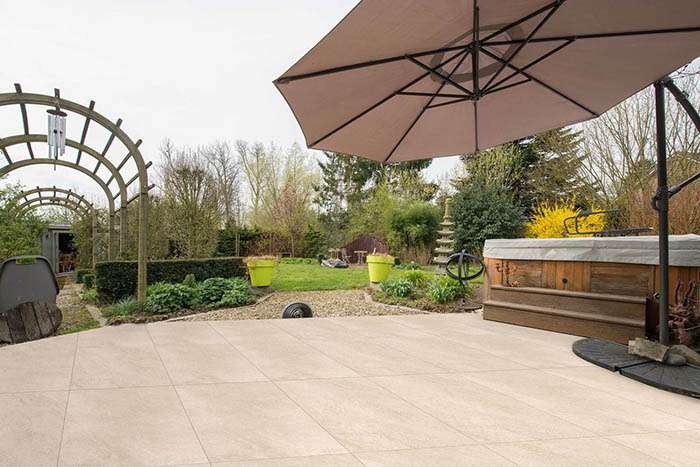





Hammerstone Beige Porcelain is a full body porcelain paving slab with warm, sandy buff tones that work well in traditional and contemporary garden settings alike. At 900x600mm and 20mm thick, these slabs are built for serious outdoor use — patios, paths, driveways, pool surrounds, and commercial landscaping projects. They carry an R11 slip rating, making them a reliable choice for areas that regularly get wet.
Available from George Davies Turf & Stone, each pack contains 40 slabs covering 21.60 m². Pack sizing is consistent, which makes project planning and ordering straightforward. If you need a hand calculating quantities, our team is happy to help.
Beige porcelain is one of the most popular choices for domestic and trade projects. The warm, buff colouring of Hammerstone Beige sits naturally alongside red brick, honey-coloured stone walling, timber fencing, and traditional render. It looks at home in both classic cottage gardens and clean, modern outdoor living spaces. Browse our full porcelain paving range to compare colours and formats.
The R11 rating on Hammerstone Beige is the German standard for slip resistance on wet outdoor surfaces. It is the benchmark that makes these slabs appropriate around pools, on exposed terraces, and on driveways where standing water is a concern. If safety matters, R11 is the rating to look for.
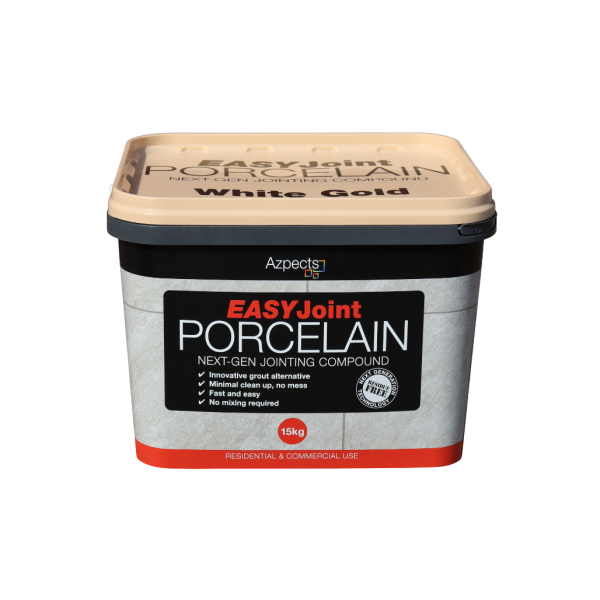
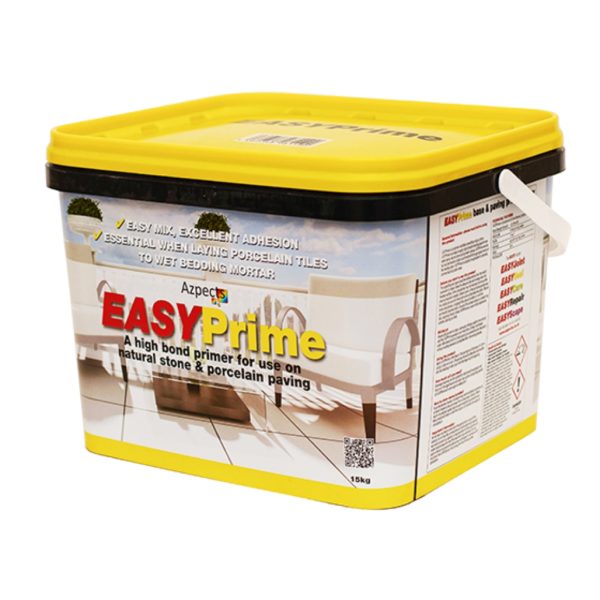
Each pack contains exactly 40 slabs covering 21.60 m². Measure your area in m², divide by 21.60, and round up to the nearest pack. Add 10% for wastage and cutting. Our team can help you confirm quantities before you order. Get in touch if you need advice. For installation materials, you will also want MOT Type 1, sharp sand, EasyPrime Slurry, and EASYJoint Porcelain grout to complete the job properly.
High-quality products are only half the story at George Davies; expert delivery and after-care are just as important. From your very first enquiry to the moment your Cloud White Porcelain arrives, every single customer is looked after by our friendly team.
We proudly service Olney, Bedford, St. Albans and the surrounding areas. Operating from our depots in Olney and St. Albans, we can offer a prompt and efficient delivery service for homeowners and professional landscapers alike.
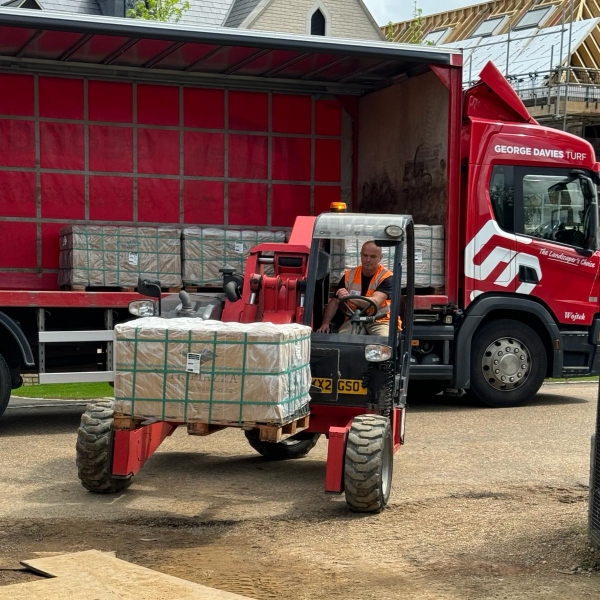
Each delivery of our Cloud White Porcelain is safely stacked onto rigid trucks equipped with forklifts. With the use of What3Words, we can place your porcelain slabs exactly where you need them (within reason).
Long, narrow tracks and gravel driveways are not a problem! Where possible, we can place stone products, turf pallets, and product bulk bags around the back of your property. All we ask is for 9 ft x 9 ft clear access so the forklifts can get through safely.
Our skilled drivers are highly trained, calm under pressure, and expert problem-solvers when it comes to difficult deliveries. If you have restricted areas, tight entrances, or specific requirements, please tell us when ordering and add notes to your online order.
Trust us when we say: our drivers truly make difficult deliveries easy!
R11 is a German standard that measures the slip resistance of outdoor surfaces when wet. An R11 rating means these slabs are suitable for use in areas regularly exposed to water, including driveways, patios, around pools, and on exposed terraces. It is one of the higher outdoor slip ratings available on porcelain products.
No. Porcelain is non-porous, which means water, oils, and most stains cannot penetrate the surface. Sealing is not required. For the vast majority of domestic and trade projects it is completely unnecessary.
Always use a full mortar bed for porcelain — a 5:1 ratio of sharp sand to cement, or a 6:1 dry mix, at 30-50mm depth. Do not use a loose sand bed. Prime the back of every slab with EasyPrime Slurry before laying to ensure a strong bond.
Each pack contains 40 slabs covering 21.60 m². Measure your area in m², divide by 21.60, and round up to the nearest whole pack. Always add 10% on top for wastage and cuts. If you need help, get in touch and our team will calculate it for you.
Yes — the 20mm thickness and R11 rating make these slabs suitable for pedestrian driveways and paths. For vehicle driveways, please speak to our team before ordering so we can confirm suitability for your specific sub-base requirements.
Tools required:
Follow these steps for a solid, long-lasting installation:
Step 1: Excavate and prepare the sub-base
Excavate to a depth that accommodates your sub-base, bedding layer, and slab thickness. Allow at least 150mm for compacted MOT Type 1 as the sub-base, plus 30-50mm for the mortar bed, plus 20mm for the slab. Remove all topsoil and organic material. Compact the sub-base thoroughly using a plate compactor. Ensure a slight fall (1:80) away from buildings for drainage.
Step 2: Prepare the mortar bed
Mix a full mortar bed using a 5:1 ratio of sharp sand to cement, or use a 6:1 dry mix. Apply the bed at 30-50mm depth. Do not use a loose sand bed for porcelain slabs — a full mortar bed is essential to prevent flex and cracking.
Step 3: Prime the back of every slab
Before laying each slab, apply EasyPrime Slurry to the back face. This creates a strong bond between the porcelain and the mortar bed and is a critical step that should never be skipped. Allow the slurry to become tacky before placing the slab.
Step 4: Lay and level each slab
Place the slab onto the mortar bed and use a rubber mallet to tap it down firmly into position. Check level with a spirit level in both directions and across adjoining slabs. Work from one corner outward to maintain consistent falls and joint widths. Use plastic spacers to keep joints even.
Step 5: Allow the mortar to set
Leave the slabs undisturbed for at least 24 hours before light foot traffic, and 7 days before any heavy use or vehicle access. Do not grout the joints until the mortar bed has fully cured.
Step 6: Grout the joints
Once the mortar bed has set, fill the joints using EASYJoint Porcelain grout. Brush or tamp the grout into the joints and clean any excess from the slab surface before it sets.
Helpful Guides: