- Lawn Turf
- Artificial
- Soil
- Timber
- Composite Decking
- Paving & Stone
Get In Touch With Our Experts Today!
Give us a Call! - Seed & Fertiliser
- Dressing
- Bark
Our Raj Green stone range creates the appearance of old flagstone with a natural riven and worn surface. In a buffed-grey shade, it is an all-time favourite for gardeners and landscapers. Easy to lay, maintain and enjoy, transform your outdoor space with our standout Raj Green paving.
Was Also Known as Cloister


Please contact us via our online form or call our offices on 01234 818 253 to discuss your requirements
Our Raj Green stone range is designed to replicate the look of traditional flagstone, providing a natural, worn surface in a versatile buffed-grey shade. With easy installation and low maintenance, it’s a popular choice for both gardeners and landscapers. Choose from two size options to suit your project:
| Pack Name | What's Included | Area Covered |
|---|---|---|
| 1.23m² Pack | 1 x (900mm x 600mm), 1 x (600mm x 600mm), 1 x (600mm x 290mm), 1 x (290mm x 290mm) | 1.23m² |
| 900 x 600 Single | Single slab of 900mm x 600mm | 0.54m² per slab |
Both options come with a depth of 22mm, providing durable, high-quality coverage for outdoor areas. Each slab’s natural colour and slight variations create a unique look for every installation.
The Raj Green paving is ideal for projects needing a timeless, rustic look with a low-maintenance solution. It’s highly suitable for traditional and modern outdoor spaces alike, where durability and aesthetic appeal are both essential.
To complete your installation, we recommend using Azpects EasyJoint or EasyJoint Select for high-quality jointing. Both options provide easy, professional results for a lasting finish.
If you have any questions or need further assistance, feel free to contact our team for a seamless experience with Raj Green paving. Our dedicated team is here to help you find the perfect fit for your landscaping needs.
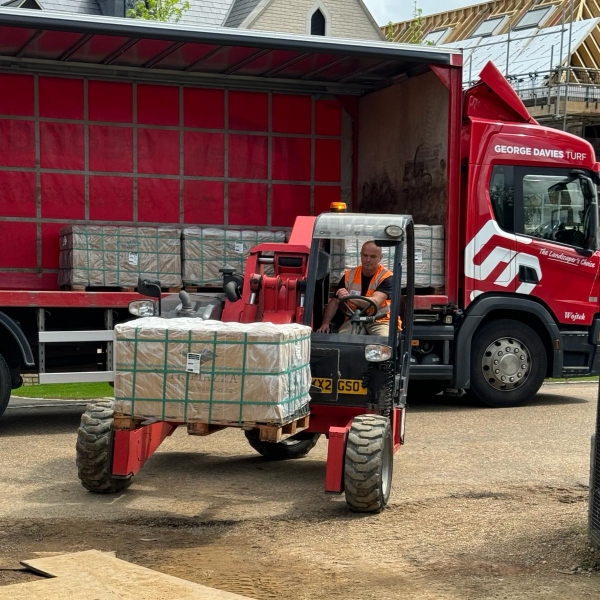
Each delivery is made on rigid trucks mounted with forklifts, allowing us to place your products exactly (within reason) where they suit you. Long, narrow tracks and placing bags around the back of your home along with gravel driveways are not a problem. We just ask for a 9ft-by-9ft access to enable the forklifts to get through with ease.
Here at George Davies Turf, we want to make life as easy as we can for you; our website boasts a three-day lead time; however, if you need it sooner, please give us a call, as we normally work on a two-day turnaround.
Our skilled drivers are highly trained and cool under pressure. If you have any limitations at all, please tell us ahead of time at the point of order or add notes to your online order. Trust us when we say our drivers truly make difficult deliveries easy.

Use a wet saw with a diamond blade or an angle grinder, secure the stone, and make slow, controlled cuts along your marked lines, finishing with a grinding tool to smooth any rough edges.
We recommend using a joint width of 8-10mm for optimal results in natural paving. Fill the joints with either Azpects EasyJoint or Azpects EasyJoint Select to ensure a long-lasting and stable installation.
To assist in planning, here’s a guide on how many packs are needed for different project sizes:
| Coverage Area | 1.23m² Packs Needed | Area Covered (1.23m²) | 900x600mm Packs Needed | Area Covered (900×600) |
|---|---|---|---|---|
| 5m² | 5 packs | 6.15m² | 10 slabs | 5.4m² |
| 10m² | 9 packs | 11.07m² | 19 slabs | 10.26m² |
| 15m² | 13 packs | 15.99m² | 28 slabs | 15.12m² |