August 25, 2017
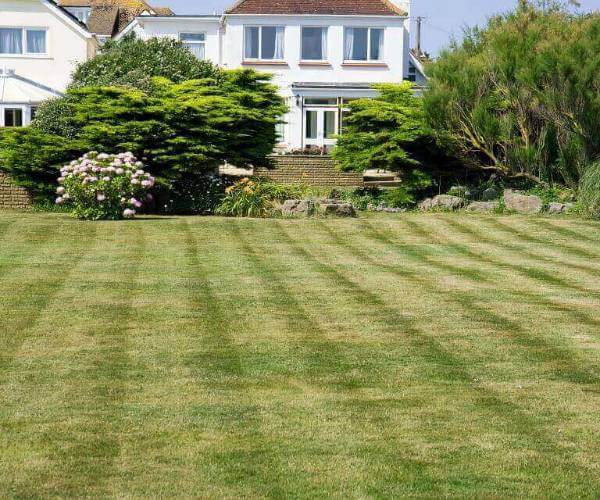
Having perfectly mown stripes on your lawn is a quintessential, classic look for your garden, as well as being featured on tennis courts, football pitches and other sports grounds. Many people think that this is something that cannot be easily achieved on domestic lawns and that it would involve hiring an expensive gardener and/or using complicated equipment; this is absolutely not the case. The illusion of stripes, or any kind of pattern in your grass for that matter, is all about the way that the grass is angled and how the light reflects off of it to give the desired patterned effect. These angles are made by bending and gently flattening the grass, and the stripes fall in where this is done in opposite directions.
In order to achieve Wimbledon-worthy stripes in your back garden, it’s important to make sure you have the correct mower attachments. To give you the best chance at success, you will need to have a rear roller (the width of which will become the width of your stripe) and a grass box attachment to collect the clippings. However, you don’t need to run out to the shops and buy a brand new mower if yours doesn’t have a rear roller – you can buy lawn striping kits that will include this as an addition, so panic not. It’s also really important to ensure that your blades are sharp and that your lawn mower is in all-around good condition before you start.
If you have a particularly awkward shaped garden, or if it is notoriously tricky to actually turn the lawn mower around then it is recommended that you start by doing a couple of laps cutting the perimeter – this will negate your turning problem and also help to achieve an overall nice, even cut. The next step is deciding which way you want your stripes to run, and positioning your mower in the correct place for this.
Perhaps the most difficult element of this process is actually achieving straight, even lines. Unfortunately this is a skill that will be finely tuned and honed with both practice and time. However, a good tip for this is to pick a point in front of you, in the distance (maybe a plant pot, a knot in the fence or the football that has been left lying around)and keep your focus on this whilst walking towards it. This should help you with keeping your lines straight, as well as taking your time and doing it fairly slowly. Chances are that your first attempt will not be perfect but as I said, this is something that you will be able to sharpen and perfect each time you do this.
To achieve the striped effect, simply alternate the direction in which you are mowing each stripe. If you would like to make your stripes wider, simply run the mower alongside your previous line in the same direction. It’s also a good idea to slightly overlap the previous stripe when you change direction – it’s not only easier to keep your lines straight but also will help to ensure that you are not missing any patches of lawn. Try to make the overlap distance the same each time, as this will have an effect on the width of your stripes.
Simply repeat the above steps until you have finished striping your lawn; it’s advisable to then give the perimeter a final trim in order to achieve a neat finish. You may not have perfect stripes/ patterns after your first attempt, but it really is a case of practice making perfect. It’s important to bear in mind the basic principles of mowing too – for example, not reducing the cut height by more than 25% per time. You can read our guide to mowing here. Furthermore, if you are regularly adding stripes to your lawn, it is vital to make sure that you are alternating the mowing direction each time; not doing so runs the very likely risk of encouraging uneven and indirect growth which will have a direct, damaging effect on your lawn. So you can see that lawn stripes are definitely achievable at home, providing that you follow the key steps that we have outlined above, and thus the myth that these can only be created by gardening professionals has been well and truly busted.

 Dedicated Two-Hour Time Slot
 20+ Years In Business